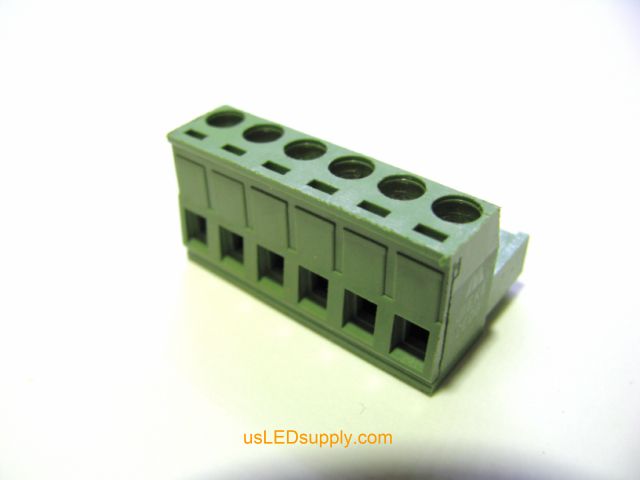
Connecting RGB LED lights to a Terminal Block
The steps of this process apply to terminal blocks of any size. Just make sure you correlate the wires with the letter code on the individual device.
−− • • −− • • −− • • −− • • −− • • −− • • −− • • −− • • −− • • −− • • −− • • −− • • −− • • −− • • −− • • −− • • −− • • −− • • −− • • −− • • −− • • −− • • −− • • −−
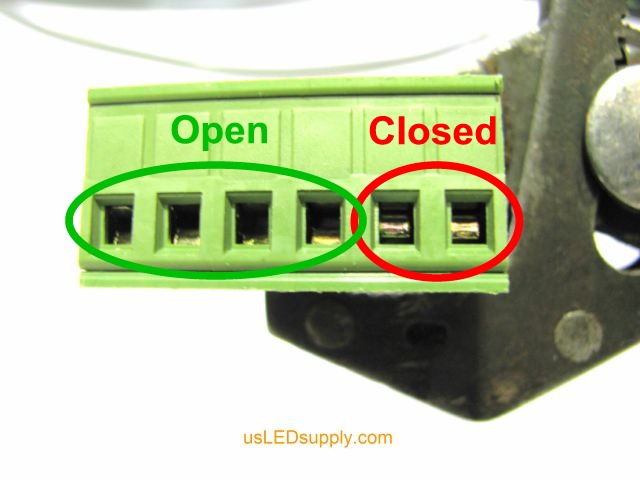
Step #1: Make sure all ports on terminal block are open (Turn clockwise to tighten, counter-clockwise to loosen).
|
|
|
−− • • −− • • −− • • −− • • −− • • −− • • −− • • −− • • −− • • −− • • −− • • −− • • −− • • −− • • −− • • −− • • −− • • −− • • −− • • −− • • −− • • −− • • −− • • −−
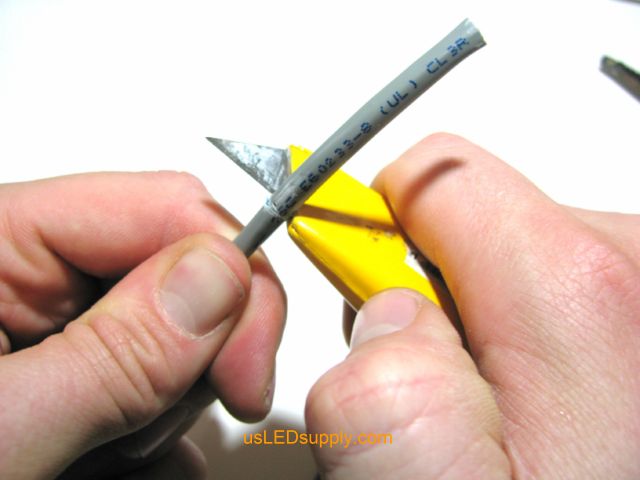
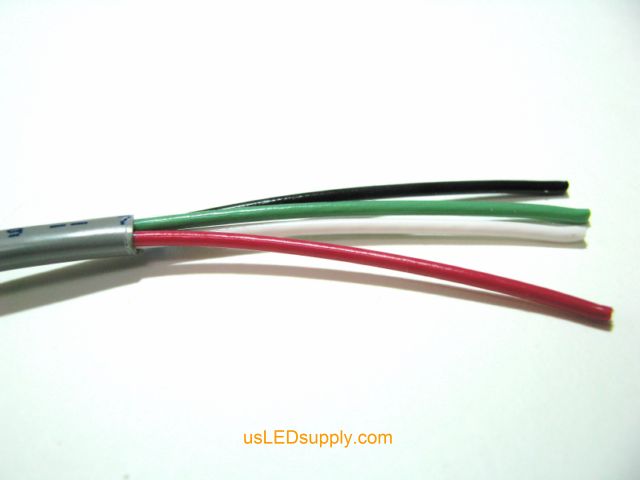
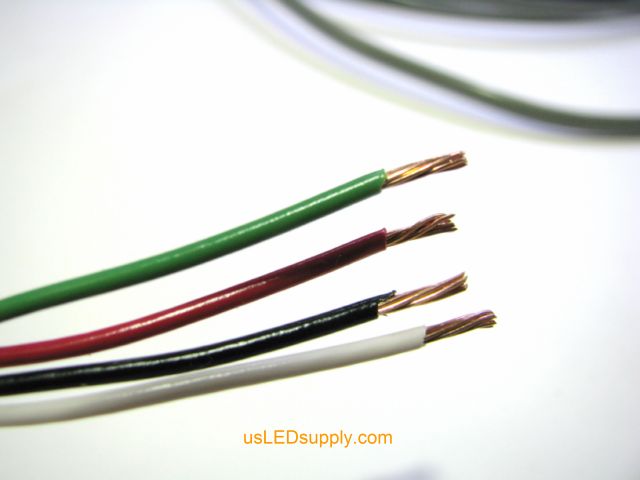
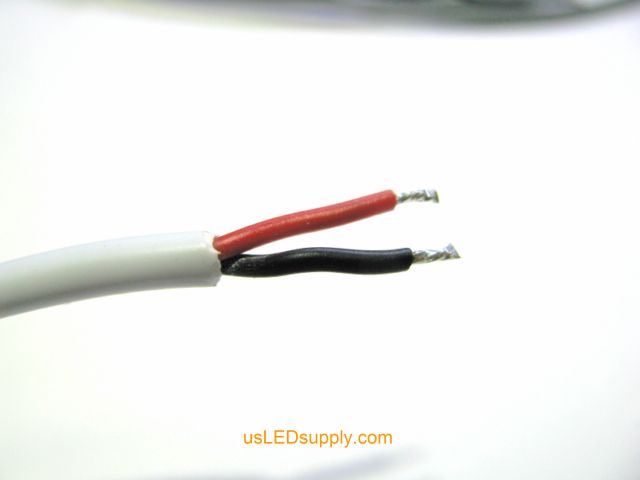
Step #2: Strip the control cable sheath back approximately 2”. Then, strip the ends of the four smaller wires about 1/4”.
|
|
|
|
−− • • −− • • −− • • −− • • −− • • −− • • −− • • −− • • −− • • −− • • −− • • −− • • −− • • −− • • −− • • −− • • −− • • −− • • −− • • −− • • −− • • −− • • −− • • −−
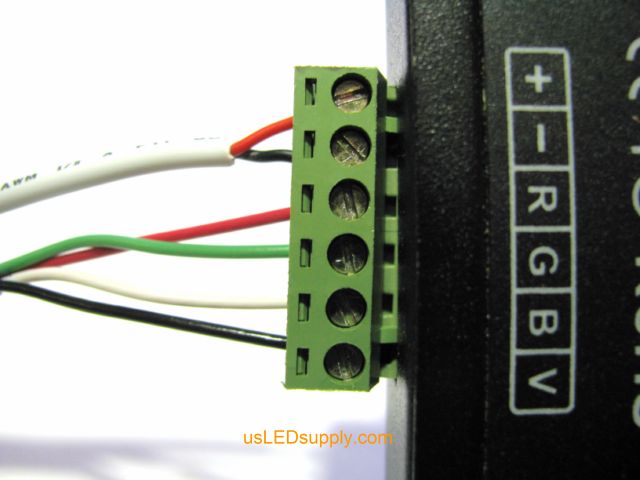
Step #3: Insert wires into the terminal block in the correct order, making sure to insert the right wire color into the matching color code letter on the terminal block. In this example, the color codes are:
R = Red
G = Green
B = Blue (or white if using control cable)
V = Black (+) output to lights
+ = (+) positive power in
- = (-) negative power in
|
|
−− • • −− • • −− • • −− • • −− • • −− • • −− • • −− • • −− • • −− • • −− • • −− • • −− • • −− • • −− • • −− • • −− • • −− • • −− • • −− • • −− • • −− • • −− • • −−
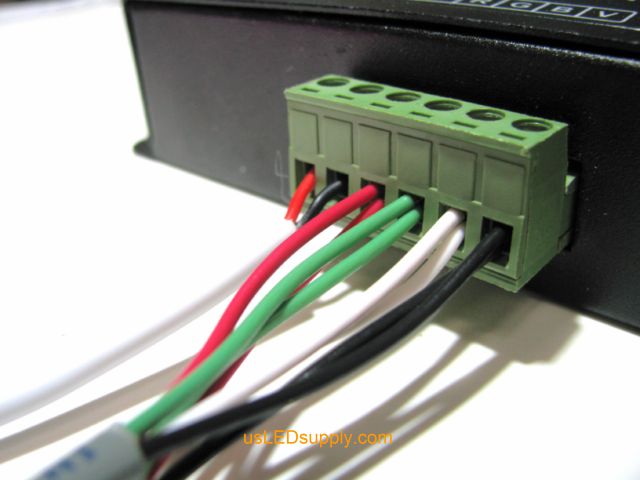
Step #4: Tighten down the screws above the wires you have inserted. Try pulling each wire out of terminal block in order to insure that they are fastened securely. If one is not secure, loosen the terminal and start over. Reinsert the wire and tighten the screw. The wires will be easier to insert if they are twisted first.
−− • • −− • • −− • • −− • • −− • • −− • • −− • • −− • • −− • • −− • • −− • • −− • • −− • • −− • • −− • • −− • • −− • • −− • • −− • • −− • • −− • • −− • • −− • • −−
Step #5: Connect the power wires to the terminal block (if using our female barrel plug). Insert the wires into the power input terminals, Red (+) Black (-).
|
|
|
|
−− • • −− • • −− • • −− • • −− • • −− • • −− • • −− • • −− • • −− • • −− • • −− • • −− • • −− • • −− • • −− • • −− • • −− • • −− • • −− • • −− • • −− • • −− • • −−
Option: You can connect more than one wire into each terminal on the terminal block. Simply follow the instructions above, making sure to pull on each individual wire when completed.
|
|
|

