Connecting to IR RGB Controller with 4 Pin Connector
Solder connection - Directly to Strip
In order to connect to the output of our RGB IR controllers, you must use a 4 pin connector. You can connect it to the LED strip by soldering directly to the strip’s solder pads (as depicted here), or by soldering it to wires already attached to the LED strip.
−− • • −− • • −− • • −− • • −− • • −− • • −− • • −− • • −− • • −− • • −− • • −− • • −− • • −− • • −− • • −− • • −− • • −− • • −− • • −− • • −− • • −− • • −− • • −
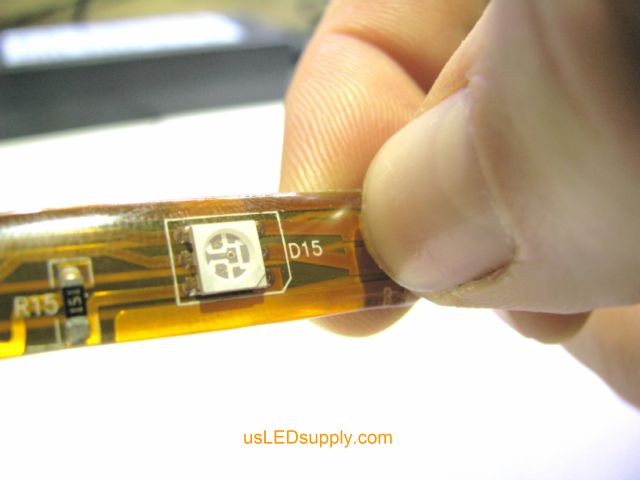
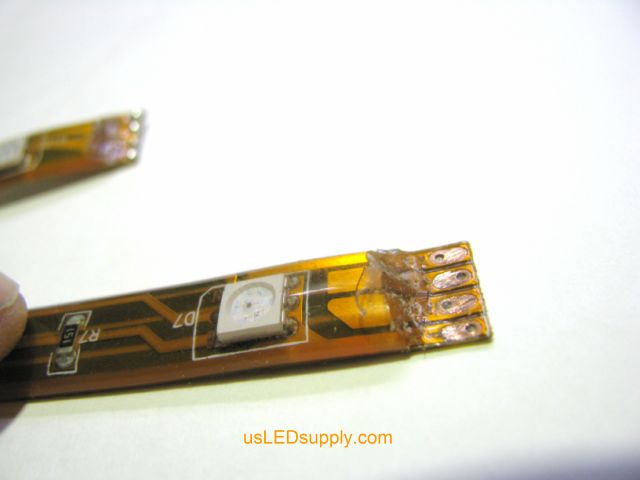
Step #1: Remove about a ¼” of the waterproof coating from the end of the RGB flexible LED strip.
|
|
|
−− • • −− • • −− • • −− • • −− • • −− • • −− • • −− • • −− • • −− • • −− • • −− • • −− • • −− • • −− • • −− • • −− • • −− • • −− • • −− • • −− • • −− • • −− • • −
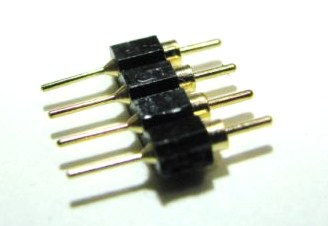
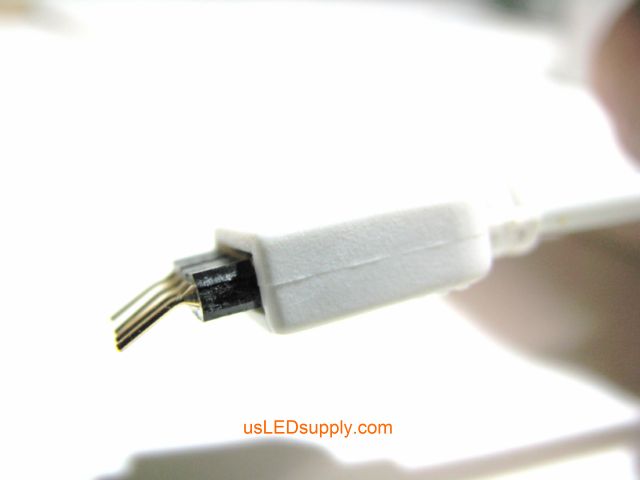
Step #2: Take a look at your 4 pin connector and compare it to the one pictured here. The pins on the right (with the thicker cylindrical base) will be the ones inserted into the IR controller, i.e. NOT the ones you will be soldering to the strip. You will be soldering the pins on the left hand side of this picture to the strip.
|
|
−− • • −− • • −− • • −− • • −− • • −− • • −− • • −− • • −− • • −− • • −− • • −− • • −− • • −− • • −− • • −− • • −− • • −− • • −− • • −− • • −− • • −− • • −− • • −−
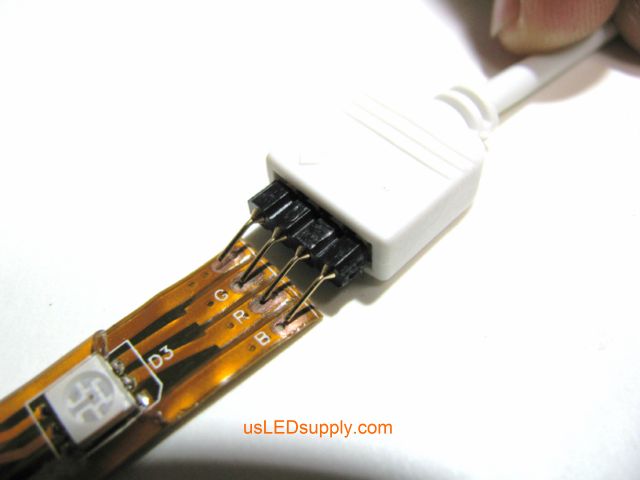
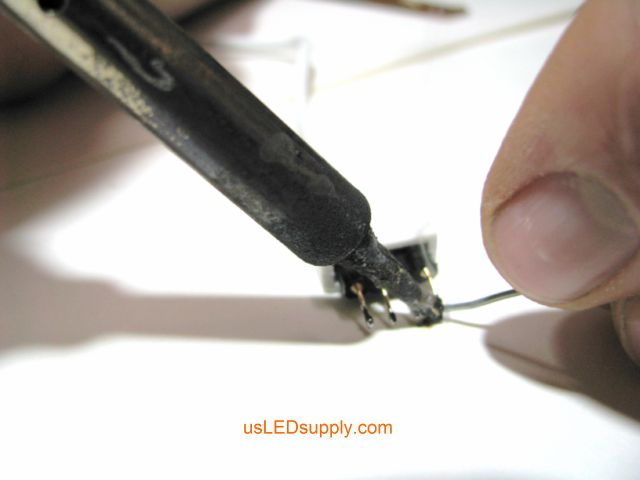
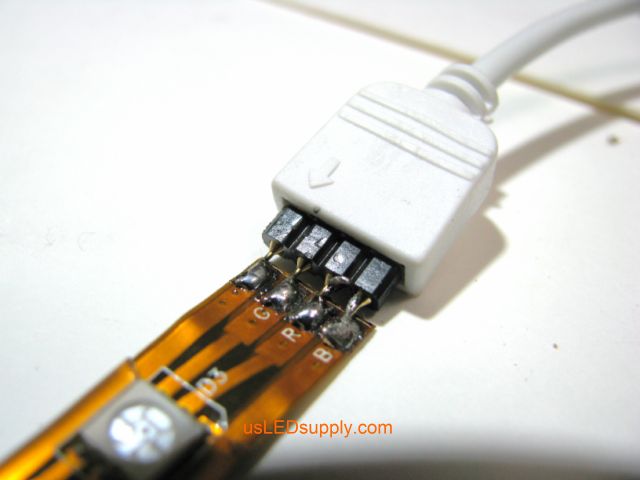
Step #3: Insert the 4 pin connector into the IR controller. Then, set the flexible LED strip and receiver on a flat surface and bend the pins down so that they touch the solder pads on the strip. Pre-tin both the solder pads on the strip and the pins on the 4 pin connector.
|
|
|
|
−− • • −− • • −− • • −− • • −− • • −− • • −− • • −− • • −− • • −− • • −− • • −− • • −− • • −− • • −− • • −− • • −− • • −− • • −− • • −− • • −− • • −− • • −− • • −−
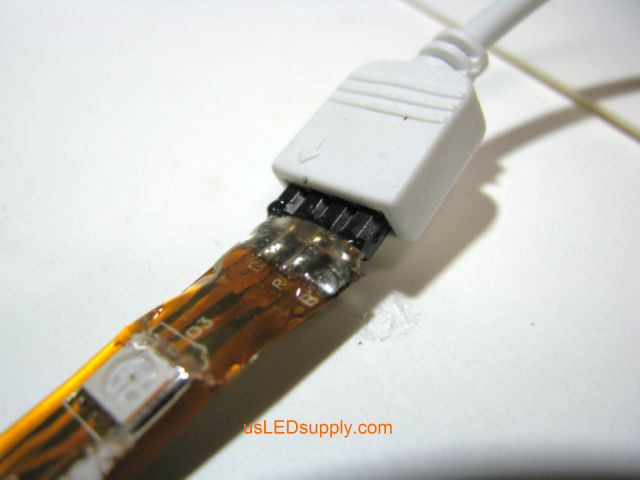
Step #4: Solder the pins to the LED strip. Then, cover your connection with hot glue and/or heat shrink tubing.
|
|
 |
−− • • −− • • −− • • −− • • −− • • −− • • −− • • −− • • −− • • −− • • −− • • −− • • −− • • −− • • −− • • −− • • −− • • −− • • −− • • −− • • −− • • −− • • −− • • −−
−− • • −− • • −− • • −− • • −− • • −− • • −− • • −− • • −− • • −− • • −−

